
You've finished a remodel, the tile is clean, the grout lines are sharp, and the whole room finally looks the way you wanted. Then the practical question hits. How do you keep it looking that way in Houston, where humidity, shower steam, wet shoes, cooking spills, and daily traffic start working on those surfaces right away?
That's where ceramic tile sealing matters, but not in the way most homeowners think. The primary issue usually isn't the face of the tile. It's the grout, plus any ceramic tile surface that's porous. That distinction gets missed all the time, and it's the reason some new installations stay crisp while others start showing dark grout joints, stubborn stains, or moisture problems much sooner than expected.
Located in Houston the primary projects that H-Town would like to undertake are; kitchen remodeling, bathroom remodeling, & whole home remodeling. In all of those spaces, tile protection is less about a generic “seal everything” rule and more about understanding what material you have. If you're still deciding on finishes, this guide to ceramic and porcelain flooring helps frame the material differences, and if you're choosing a bathroom surface package, it also helps to think through layout and finish with a bathroom tile selection guide.
Table of Contents
- Your New Tile Looks Great But Will It Last
- What Is Ceramic Tile Sealing Really Protecting
- Penetrating vs Topical Sealers Which Is Right for Your Tile
- When to Seal and When to Skip The Tile vs Grout Question
- DIY Sealing vs Professional Application for Houston Homes
- An Overview of the Tile Sealing Process
- Sealing Costs and Long-Term Maintenance Schedules
- Protect Your Houston Remodel with Expert Tile Work
Your New Tile Looks Great But Will It Last
A Houston bathroom can look perfect the day the remodel wraps up and still start showing trouble fast. The usual problem is not the face of the ceramic tile. It is the grout lines, and in some cases a more porous tile surface, taking on moisture, soap film, cooking residue, or dirt before the homeowner realizes anything needs protection.
That catches people off guard because ceramic has a reputation for being low maintenance. Some ceramic tile is. Some is not. Glazed ceramic often does fine without sealing on the tile surface, but grout still needs attention, and unglazed or textured ceramic can absorb more than homeowners expect. If you are still sorting through material choices, our bathroom tile selection guide for Houston remodels helps clarify where ceramic fits and where porcelain may be the better call.
Quick guide to Ceramic Tile Sealing
| Topic | Practical answer |
|---|---|
| What usually needs sealing | Grout first, and some unglazed or textured ceramic tile |
| What often doesn't | Many glazed ceramic and low-absorption tile surfaces |
| Best sealer type for porous areas | Usually a penetrating sealer |
| Typical professional cost | Professional pricing varies by room size, tile layout, grout condition, and whether this is part of a larger punch-list after installation |
| DIY material cost | Usually modest for a small project, but labor time and application mistakes matter more than the bottle price |
| How often to reseal | Commonly every 1 to 2 years, depending on use and exposure, as covered later in this guide |
I see the same mistake after a lot of remodels. Homeowners hear "ceramic tile sealing" and assume every tile surface gets treated the same way. In practice, the right question is which parts of the installation are porous and exposed to daily moisture.
That distinction matters more in Houston. A hall bath with light use has one maintenance pattern. A primary shower that stays humid, a kids' bathroom with constant splash, or a kitchen floor near a back door has another. The finish can still look clean while the grout starts darkening, holding residue, or staining unevenly.
Homeowners comparing materials often miss that point too. This guide to ceramic and porcelain flooring is a useful reference if you want a clearer read on absorption, durability, and where each material tends to perform best.
The practical rule is simple. Seal what needs protection, skip what does not, and do not assume "ceramic" answers the question by itself. That approach protects the look of the installation and helps your kitchen or bathroom remodel hold up the way it should.
What Is Ceramic Tile Sealing Really Protecting
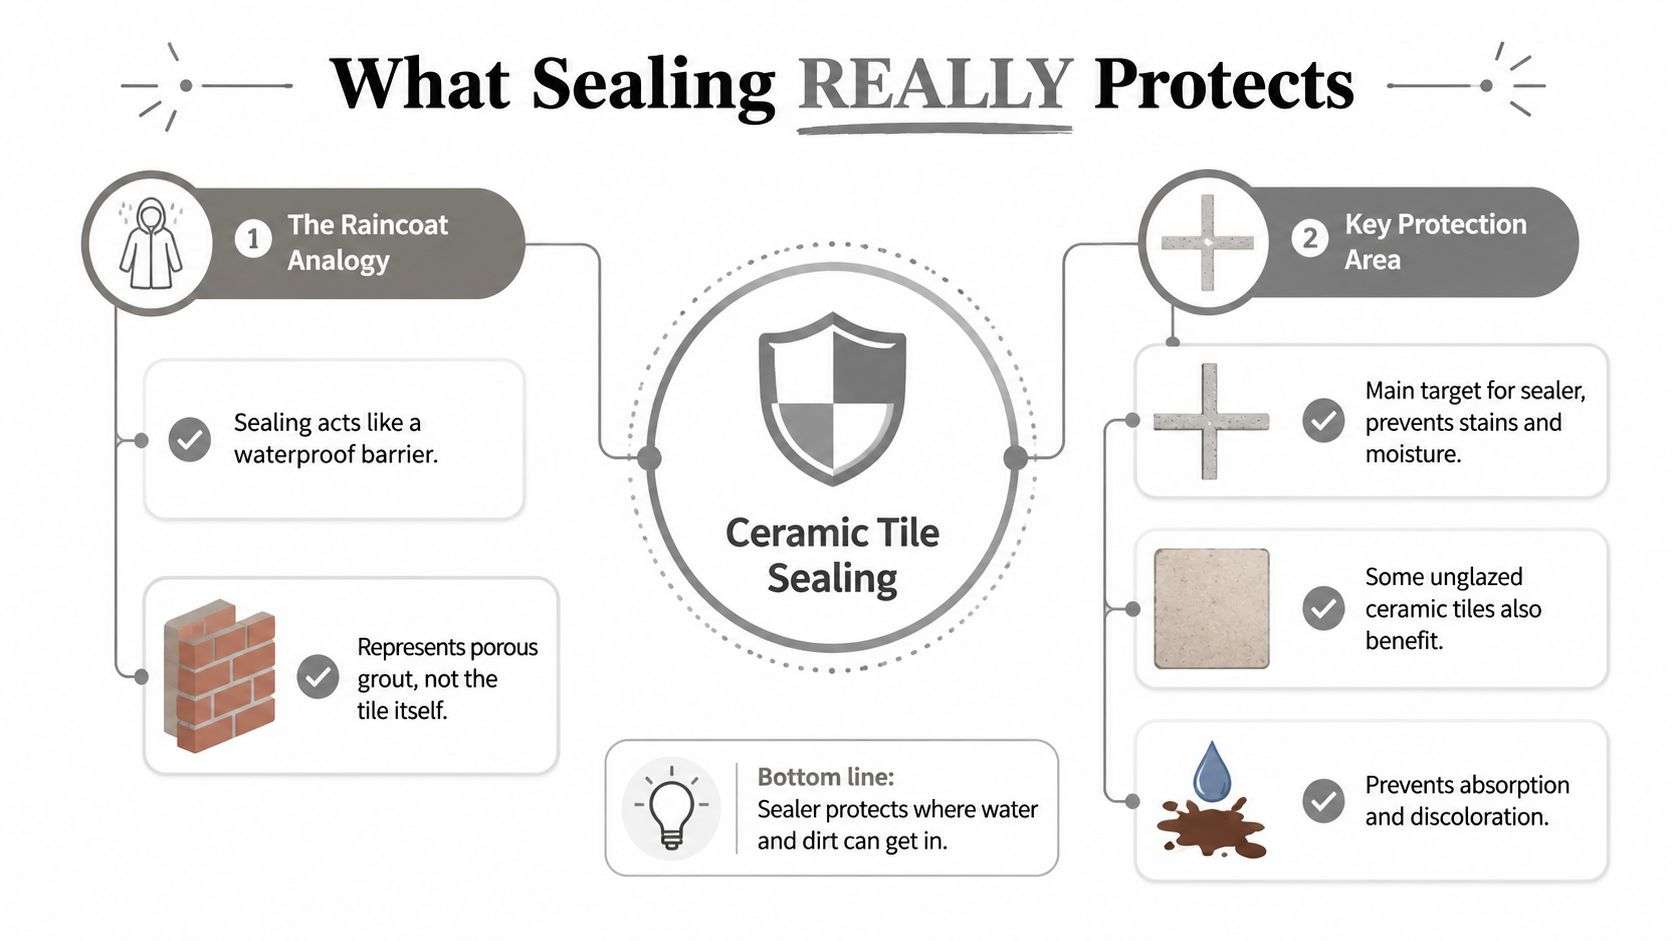
Think of tile like a brick wall in the rain. The brick face may resist water just fine, but the mortar joints are the weak point. In a tile installation, the grout often plays that same role.
Most homeowners hear “seal the tile” and picture coating the surface they can see. In practice, the protection target is usually the porous grout lines, because that's where water, oils, soap residue, and dirt can sink in first. Some ceramic tile surfaces also need protection, but grout is usually the first place to look.
The weak point in the system
Grout is what ties the field of tile together, but it's also the most vulnerable part in day-to-day use. It sits lower than the tile surface, catches runoff, holds onto residue, and gets hit by every cleaning cycle. In a Houston bathroom, that means steam, splashback, body oils, soap film, and regular dampness. In a kitchen, it means grease mist, drink spills, mop water, and tracked-in grime.
When sealer is used correctly, the goal isn't to build a plastic coating over everything. The goal is to reduce absorption in the material that would otherwise soak contaminants in.
Why the distinction matters
If you misunderstand what needs protection, you end up solving the wrong problem. A homeowner may scrub the tile face repeatedly while the grout keeps darkening because the grout is absorbing what the tile is shedding. The tile still looks decent. The joints reveal the full picture.
A good sealing plan usually focuses on:
- Grout lines first: They're commonly the most porous and most exposed part of the installation.
- Porous tile surfaces second: Matte, textured, or unglazed ceramic can also need protection.
- Moisture management overall: Sealing helps with resistance to stains and moisture intrusion, but it doesn't replace cleaning or proper drying habits.
Sealing protects the installation's weakest link, not just its most visible surface.
That's the practical way to think about ceramic tile sealing. Not as shine. Not as a cosmetic trick. As protection for the parts of the assembly that absorb what they shouldn't.
Penetrating vs Topical Sealers Which Is Right for Your Tile
A sealer can help or create a problem. The result depends on whether it belongs inside the material or sitting on top of it.
For most ceramic tile installations I see in Houston kitchens and bathrooms, penetrating sealer is the safer choice for grout and any tile with real porosity. Topical products have a narrower role. Homeowners often assume a surface coating means stronger protection, but on the wrong tile it can leave haze, trap residue, and turn routine cleaning into a bigger job.
How each type works
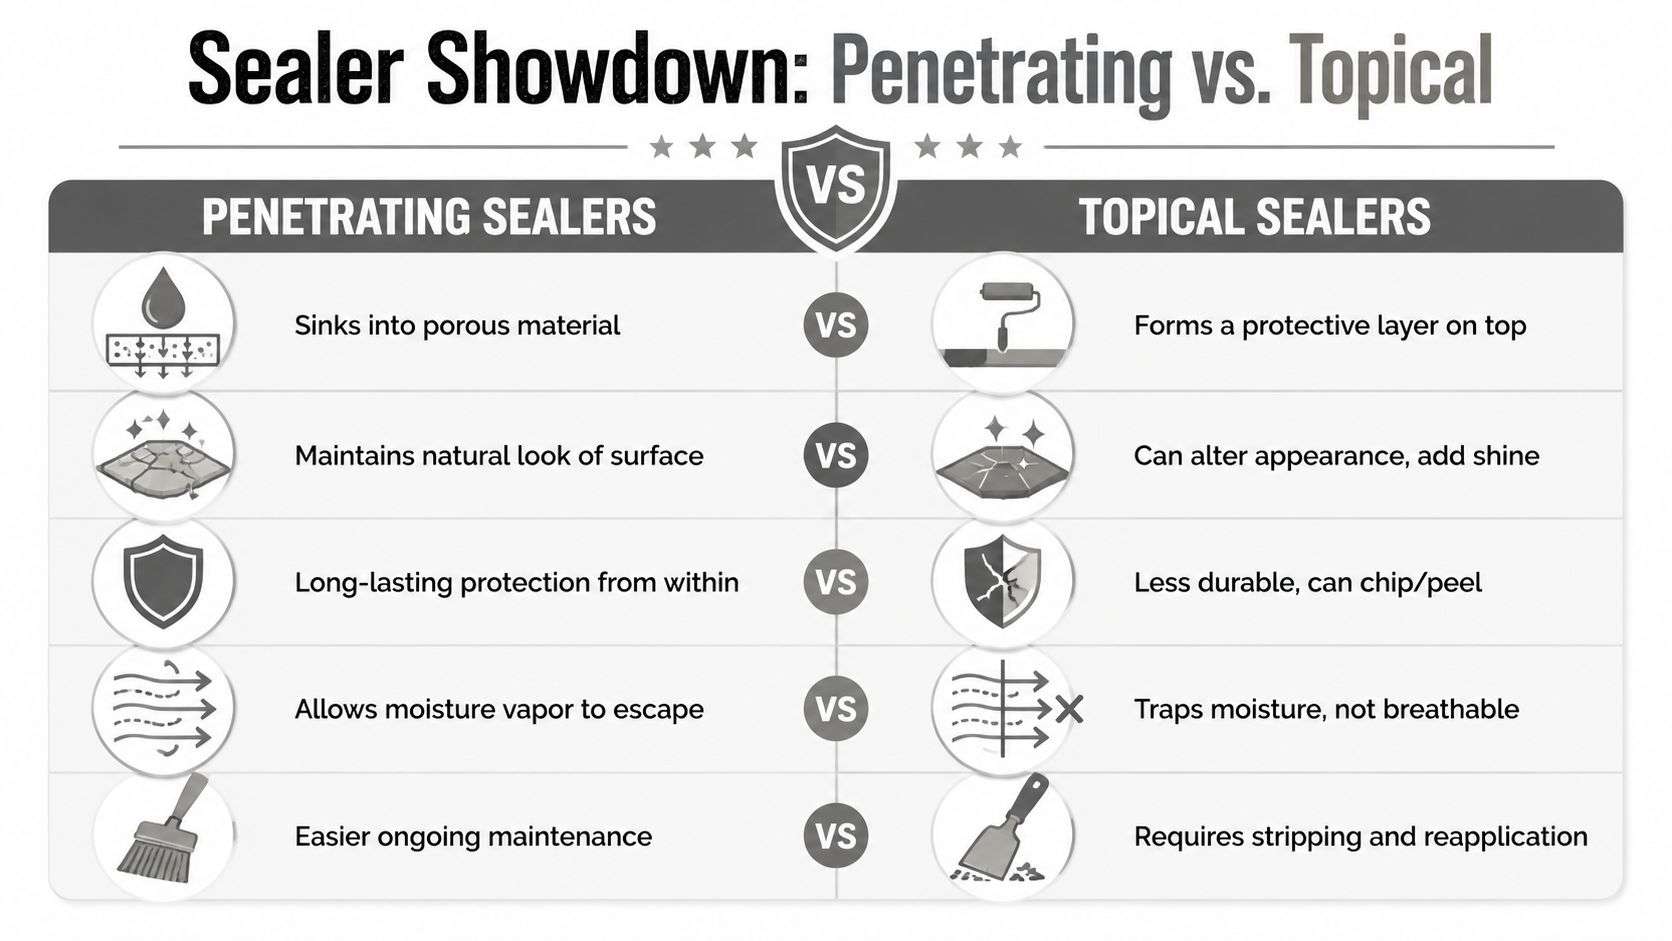
A penetrating sealer soaks into grout joints or porous tile and reduces how much moisture and staining material can enter the surface. It usually leaves the finish looking the same, which matters if you just paid for a clean, natural tile look.
A topical sealer creates a film over the surface. That can change sheen, texture, and maintenance requirements. In a humid Houston bath, that film can also show wear faster in traffic paths and around shower entries, especially if the surface never dries out fully between uses.
Side-by-side comparison
| Sealer type | How it protects | Best fit | Main trade-off |
|---|---|---|---|
| Penetrating | Soaks into pores and helps resist moisture and staining | Grout, unglazed ceramic, textured or matte porous tile | Needs careful prep and full cure time |
| Topical | Leaves a surface film | Specialty cases where a coated finish is intentional | Can haze, peel, wear unevenly, or change slip resistance |
The practical decision is less about the word ceramic and more about absorption. Dense, glazed surfaces usually do not need a film on top. Grout and more porous tile surfaces often do better with protection that sits below the face of the material.
That distinction also affects nearby joints and transitions. If the tile field is sealed correctly but the perimeter joints are ignored, moisture and grime still find a way in. Good results depend on pairing the right sealer with sound detail work, including proper bathroom tile caulking at changes of plane.
What works in real homes
In day-to-day remodel work, I keep the recommendation simple.
- Use penetrating sealer for grout first: That is usually the most absorbent part of the assembly and the first place discoloration shows up.
- Use penetrating sealer on porous ceramic only when the surface calls for it: Unglazed, matte, or textured finishes deserve a closer look before you skip protection.
- Use topical products cautiously: They are harder to maintain and less forgiving if the surface prep was rushed or the wrong product was applied.
If you want a useful outside reference on upkeep after sealing, this guide on ceramic tile care for East Hartford homes covers the cleaning side well.
The wrong sealer can leave a floor looking worse than before. The right one protects the part of the installation that absorbs moisture and soil.
When to Seal and When to Skip The Tile vs Grout Question
A Houston homeowner finishes a bathroom remodel, wipes down the new ceramic tile for a few weeks, and assumes the job is protected. Six months later, the tile still looks good, but the grout joints are darker, the corners stay dingy, and the shower floor never looks fully clean. That is the mistake I see all the time. People focus on sealing the tile face and miss the part that usually needs protection first.
Ceramic is not one category in practice. Some ceramic tile has a glazed surface that sheds water well and does not benefit from sealer on the face. Some ceramic tile is matte, textured, or unglazed and can absorb moisture, soap residue, and stains. Grout is the usual weak point either way, especially in kitchens, bathrooms, and entries.
Tile you should usually skip
Skip sealing the face of dense, glazed ceramic when water stays on the surface instead of soaking in. On these tiles, adding sealer often creates more cleanup than protection. I have seen homeowners fight haze, streaks, and sticky residue because they treated a non-porous surface like a porous one.
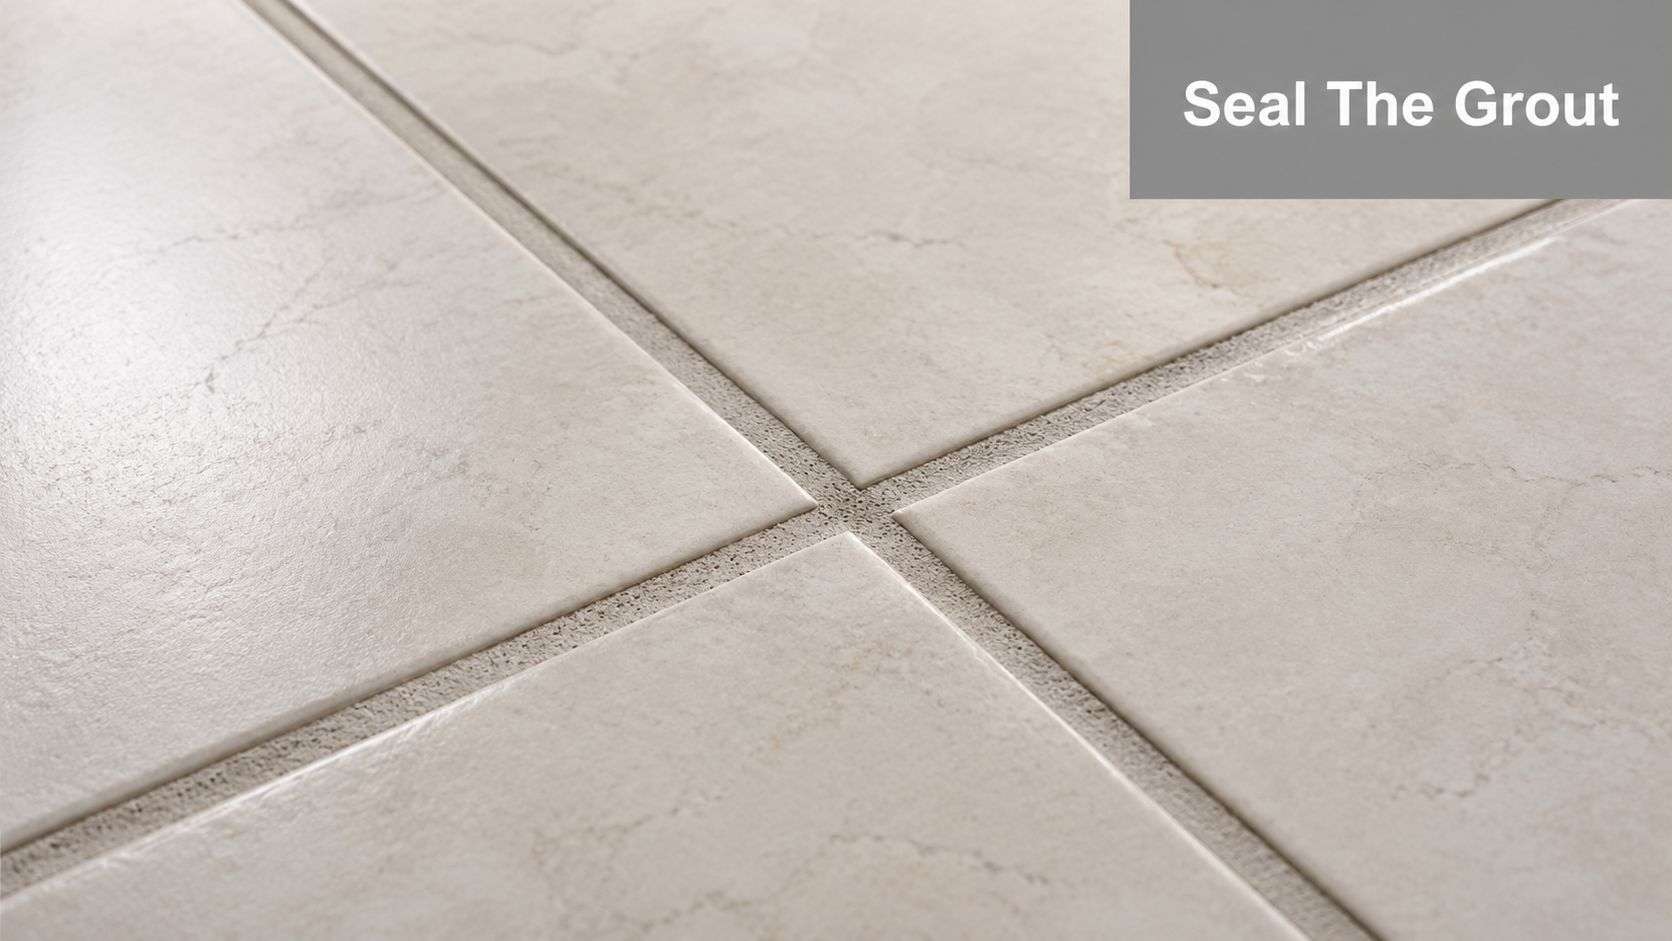
The better move is to leave the tile face alone and put attention where absorption happens. In many installations, that means the grout joints, not the tile.
Tile and grout you should focus on
Seal cement-based grout in most ceramic tile installations. It absorbs faster, soils faster, and shows neglect sooner than the tile around it. In Houston, that matters because humidity hangs around longer, shower areas dry slower, and kitchen floors deal with a steady mix of moisture, oils, and tracked-in dirt.
Porous ceramic deserves a simple field check. Put a few drops of clean water on the tile. If the water darkens the surface or disappears instead of beading up, that tile may need a penetrating sealer. If the water beads and wipes away cleanly, the tile face usually does not.
Here is the practical sorting method I use on remodel jobs:
- Glazed ceramic with low absorption: skip the tile face, seal the grout if needed.
- Matte, textured, or unglazed ceramic: test the tile surface and seal it if it absorbs.
- Shower floors, bathroom floors, backsplashes behind sinks, and kitchen grout joints: treat grout as the first priority.
- Perimeter joints and changes of plane: do not confuse sealer with joint protection. proper bathroom tile caulking at changes of plane handles movement and water exposure differently than grout sealer.
The simplest question is the right one. Does this surface absorb, or not?
That distinction gets missed in a lot of remodels. Homeowners hear "ceramic tile" and assume every ceramic surface is naturally protected. Some are. Some are not. The grout almost always needs more attention than the tile face, and that is the part that has the biggest effect on how clean the installation looks a year later.
For homeowners comparing upkeep habits in different climates, this article on ceramic tile care for East Hartford homes is a useful outside reference. The day-to-day cleaning side often confirms what we see in the field. Grout maintenance drives the appearance of the whole floor.
Why Houston makes this more important
Houston puts more stress on porous finishes than a drier climate does. Bathroom moisture lingers. AC temperature swings can slow drying in shaded areas. Mud, rainwater, and humidity find the grout lines first.
That is why the tile-versus-grout question matters so much here. Many ceramic tile surfaces can be left alone. Grout usually cannot. Porous ceramic sometimes needs protection too, but only after you confirm the surface absorbs. That approach protects the installation without creating a maintenance problem that did not need to exist.
DIY Sealing vs Professional Application for Houston Homes
A Houston homeowner finishes a new bathroom, seals it on a Saturday, and by the next week the grout looks blotchy near the shower entry. The tile was never the problem. The grout absorbed unevenly, the room stayed damp, and excess sealer dried on the surface instead of doing its job in the joints.
That is the DIY question. Can you apply sealer? Usually, yes. Can you get clean, even protection across grout lines and any porous tile without haze, missed spots, or trapped residue? That takes more care than many homeowners expect.
Where DIY makes sense
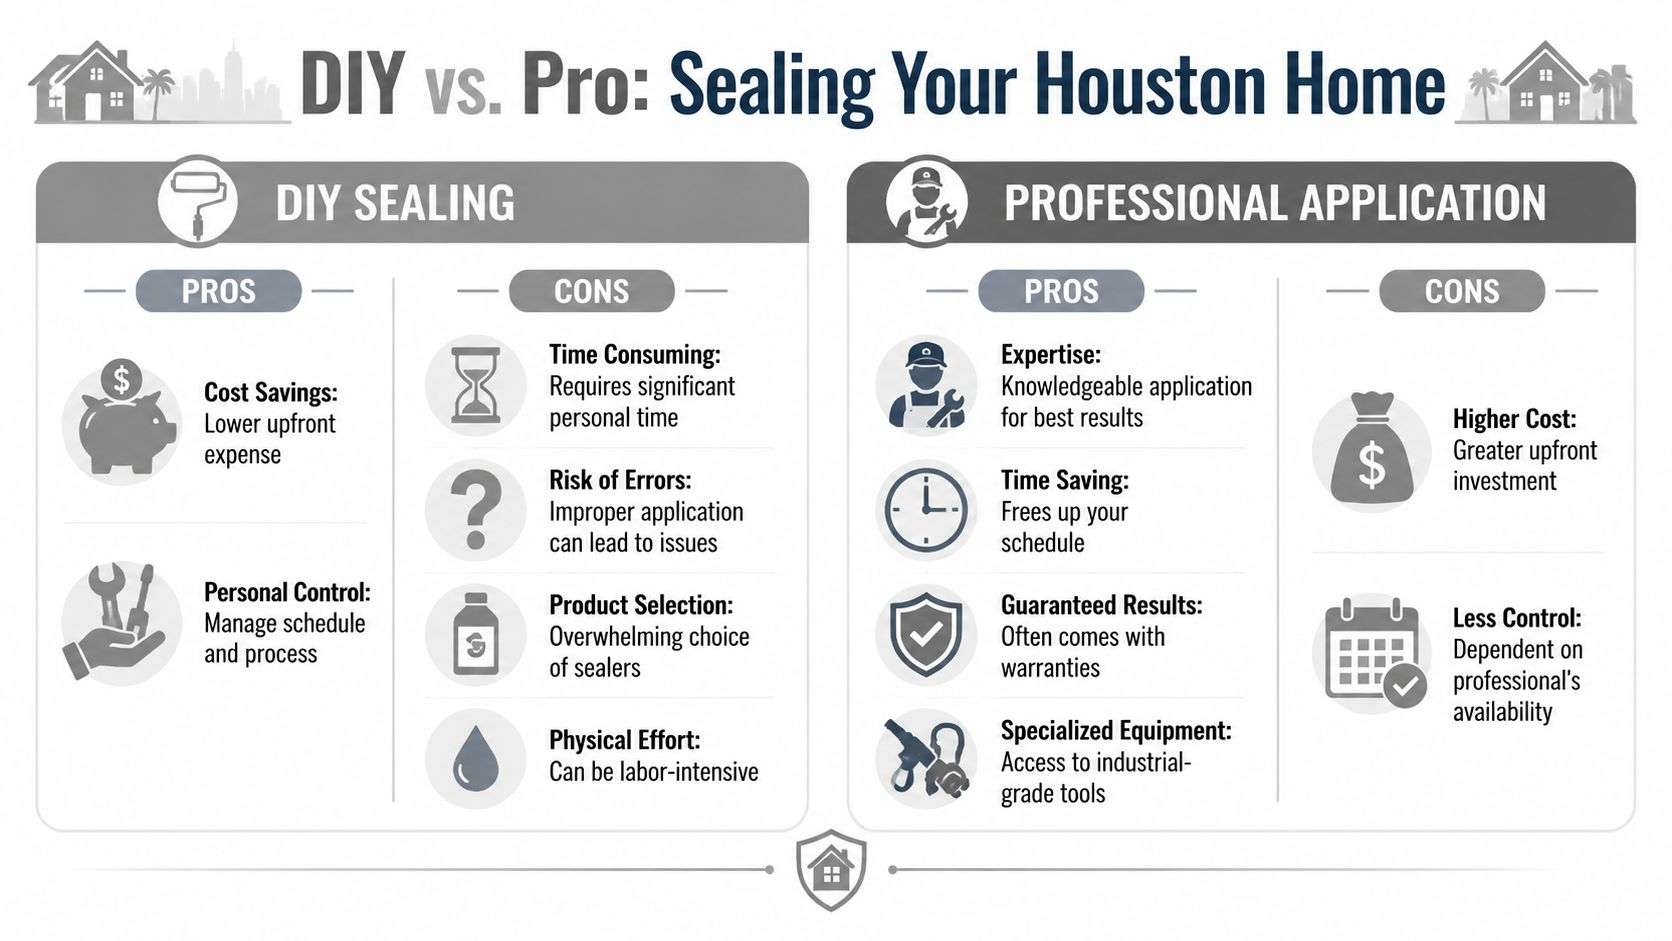
DIY sealing is a reasonable option for smaller, lower-risk jobs. A guest bath floor, a laundry room, or a limited grout touch-up area can be manageable if the surface is already clean, fully dry, and easy to reach.
The upside is simple.
- Lower upfront cost: You pay for materials, not labor.
- Flexible timing: You can work in short windows instead of booking a crew.
- Good for maintenance work: Resealing a small area is very different from protecting a full new installation.
DIY gets less attractive fast once the job gets bigger or the surface gets less predictable. Narrow joints, textured tile, old grout haze, soap residue, and damp bathroom conditions all raise the odds of uneven results.
Where pros earn their keep
Professional application matters most when the grout condition is unclear, the room holds humidity, or the finish has to look sharp from day one. In Houston, that describes a lot of kitchens and bathrooms.
The biggest problems are usually basic, but expensive to correct later. The grout was not dry enough. Too much sealer was left on the tile face. The applicator treated dense ceramic and absorbent grout like they needed the same approach. On some floors, a homeowner can work through that. On a large primary bath or busy kitchen, those mistakes tend to show.
A professional is usually the better choice when:
- The space stays damp: Primary baths, shower surrounds, and frequently used floors dry slowly in Houston humidity.
- The grout is the primary concern: Most ceramic tile faces do not need much attention, but grout lines almost always do.
- Some tile may be porous: Handmade-look, matte, or unglazed surfaces need testing before any sealer goes down.
- Cleanup has to be exact: Residue and haze stand out on new tile, especially in strong bathroom lighting.
I tell homeowners to judge the job by the downside, not the product label. If a missed spot means a little extra maintenance in a laundry room, DIY may be fine. If failure means stained grout around a new shower curb or a blotchy kitchen floor, paying for careful prep and controlled application is usually money well spent.
For an outside example of how grout-centered service is typically framed, Savera's grout service is a useful reference. The practical point is the same. Sealing is a small line item compared with reworking stained grout, stripping haze, or trying to fix a new tile installation that was protected unevenly.
An Overview of the Tile Sealing Process
A sealing job usually succeeds or fails before the bottle is even opened. In Houston, I see the same problem over and over. The tile looks finished, the room feels ready, but the grout is still holding moisture or jobsite dust, and the sealer goes down too soon.
Three parts matter. Prep the surface correctly. Apply the sealer where it needs to go. Let it cure without rushing the room back into service.
Preparation comes first
Sealer belongs on clean, dry surfaces. If grout joints still contain soap film, construction dust, grease, or residue from cleanup, the sealer can block penetration or trap that contamination in place. That leaves homeowners with stained grout lines that were "protected" but never protected well.
New installations need patience. According to curing guidance from Flacks Flooring, grout should cure for at least 72 hours before sealing. In Houston bathrooms and kitchens, I often allow for the fact that humidity can slow drying, especially near shower walls, tub decks, and exterior-facing slab floors.
This is also the point where the tile-versus-grout distinction matters. Most glazed ceramic tile faces are already dense enough that the grout is the primary target. Some matte, unglazed, or handmade-look ceramics are more absorbent and need a spot test first. If moisture is already a concern in the room, it makes sense to address the broader risk of water-damaged flooring and subfloor repair before relying on sealer to solve it.
Application has to stay controlled
A good installer does not soak the whole floor and hope for the best. The goal is even coverage on the grout lines and any porous tile that needs it, followed by a careful wipe-off from the tile face.
A typical process looks like this:
- Apply sealer in a narrow, controlled pass over the grout joints.
- Give it time to penetrate, especially on cement-based grout.
- Wipe off excess before it dries on the tile surface.
- Add a second coat only where the grout or tile is absorbent enough to justify it.
That last part gets missed a lot. Dense ceramic and porous grout do not absorb at the same rate. Treating them the same way is how haze, blotching, and uneven protection show up on a brand-new floor.
Curing is where many jobs go wrong
Dry to the touch is not the same as cured.
After application, the room needs time before foot traffic, mopping, or shower use resumes. In an air-conditioned Houston house, that cure window can still stretch if the space stays damp or ventilation is poor. A shower that gets used too early or a floor that gets cleaned the next morning may never perform as well as it should.
Thin coats, careful wipe-down, and enough cure time produce better results than heavy application. That is the process in plain terms, and it is the difference between grout that resists staining and grout that starts showing wear far sooner than it should.
Sealing Costs and Long-Term Maintenance Schedules
Homeowners usually stop asking whether sealing is worth it after they price out grout cleaning, stain removal, or partial tile replacement. Sealing is a small maintenance item compared with repairing a floor or shower that has already started holding moisture, discoloring, or breaking down at the joints.
The cost depends on what needs protection. In many ceramic installations, the grout is the main target. Some floors also include unglazed or otherwise porous ceramic that should be sealed too. That distinction matters, because homeowners often assume all ceramic tile is maintenance-free. In Houston, that assumption leads to trouble faster than it does in drier climates.
A straightforward sealing job is usually affordable, especially if the tile is clean, accessible, and still in good condition. Costs rise when grout lines are heavily soiled, the room has a lot of cuts and edges, or old residue has to be stripped before fresh sealer can go on. Showers and wet bathroom floors also tend to need closer attention than a simple backsplash.
What the schedule looks like
There is no one calendar that fits every home.
A guest bath floor may hold its seal much longer than a primary shower used twice a day. Kitchen grout near the sink, dishwasher, and cooktop also wears differently than grout in a low-use hallway. In Houston homes, humidity adds another variable, especially in bathrooms with weak exhaust fans or shower areas that stay damp long after use.
A practical schedule is to check grout and any porous tile once a year and reseal based on condition, not habit. High-use wet areas often need more frequent attention. Dry, low-traffic areas may go longer. The goal is to maintain protection before staining sets in, not after.
How to tell when it's time
The field test is simple. Put a few drops of water on the grout joint and wait a minute.
- If the water beads up, the sealer is still doing its job.
- If the grout darkens and absorbs the water, it is time to reseal.
- If the grout stays dark, smells musty, or shows cracking, sealing alone may not solve the problem.
That last point matters. Sealer helps resist surface moisture and staining, but it does not correct movement, leaks, failing caulk, or water that has already gotten below the tile. If you are seeing swelling, soft subfloor areas, or damage spreading beyond the grout lines, the repair may need more than maintenance and could call for water-damaged floor repair and replacement.
Good maintenance is simple. Keep the tile and grout clean with pH-neutral products, avoid harsh cleaners that wear down the sealer, check wet areas regularly, and reseal the absorbent parts of the installation on time. That protects the part of the system that usually fails first in a Houston kitchen or bathroom remodel.
Protect Your Houston Remodel with Expert Tile Work
The key takeaway is simple. Ceramic tile sealing isn't about coating every tile surface in sight. It's about protecting the parts of the installation that absorb moisture and stains, especially grout and certain porous ceramic finishes.
That's why the details matter so much in Houston. The wrong product on the wrong surface can create haze or slipperiness. Skipping sealer where it's needed can leave grout and porous tile exposed to moisture, spills, and daily wear. Good results come from identifying the material correctly, using the right sealer, applying it carefully, and maintaining it on schedule.
For kitchens, bathrooms, and whole-home remodels, tile work should be planned with long-term performance in mind, not just the day the project is finished. A beautiful tile installation is only part of the job. Protecting it is what keeps it looking like a worthwhile investment.
If you're planning a kitchen remodel, bathroom remodel, or whole-home renovation in Greater Houston, H-Towne & Around Remodelers, Inc. can help you build it right from the start. Their team handles design, installation, and finish details with the kind of practical planning that helps tile surfaces last in Gulf Coast conditions. Reach out for a complimentary estimate and get expert guidance on remodeling choices that protect both appearance and long-term value.