
You’re almost done with the remodel. The cabinets are in, the tile is set, the trim’s caulked, and now the walls, ceilings, or exterior touch-ups are all that stand between “jobsite” and “finished home.” Then Houston gives you a gray January week with damp mornings, cool afternoons, and enough moisture in the air to make every shortcut a bad idea.
That’s where painting during winter gets tricky on the Gulf Coast. A lot of advice online assumes a dry cold climate. Houston isn’t that. Here, the bigger issue often isn’t the thermometer by itself. It’s the mix of cool temperatures, wet air, and surfaces that hold moisture longer than they look like they should.
Can You Really Paint in a Houston Winter
Yes, you can paint in winter in Houston. But you can’t treat it like a dry-climate winter job and expect the same result.
A common Houston scenario goes like this. A kitchen remodel is wrapping up in January. The drywall patches are sanded, the new vent hood is in, and the homeowner wants paint finished before counters or final fixtures go in. Outside, it doesn’t look severe. It’s not freezing. Inside, the room feels workable. That’s exactly when people get lulled into rushing.
The problem is that winter painting here is often less forgiving than people expect. In Greater Houston, winter humidity often exceeds 70-80%, and Gulf Coast humid cold can increase paint adhesion failure rates by up to 25% compared with dry cold climates, which is why standard cold-weather advice often falls short in this region, according to Anchor Paint’s Gulf Coast cold-weather overview.
What Houston gets wrong about winter painting
Homeowners usually focus on one question: “Is it too cold to paint?” That matters, but it’s incomplete.
On the Gulf Coast, the better questions are:
- Is the surface dry: Wood trim, exterior siding, masonry, and patched wall areas can hold moisture longer than they appear to.
- Will the room or wall stay stable long enough to cure: A brief warm spell doesn’t help if damp air settles back in by evening.
- Are you painting a finish surface or a remodel surface: Fresh texture, patching compound, replaced trim, and storm-affected materials need more discipline than an already-conditioned room.
Practical rule: In Houston winter conditions, a paint job can fail even when the air feels “fine” if the surface is still carrying moisture.
When winter painting makes sense
Winter can be a good time to paint certain remodel spaces. Interior work often benefits from a tighter schedule, less dust from open-window seasons, and easier coordination before final punch-out. Bedrooms, hallways, kitchens, and bathrooms can all be painted successfully if you control the room conditions instead of guessing.
Exterior painting is where the trade-offs get sharper. Some winter days are excellent. Others look workable at noon and turn against you before dinner. That’s why painting during winter in Houston is less about bravery and more about timing, prep, and knowing what not to force.
The Winter Painting Equation Temperature Humidity and Dew Point
If you want a winter paint job to last, you need to watch three things together. Temperature, humidity, and dew point work as a set. Ignore one, and the other two can still ruin the finish.
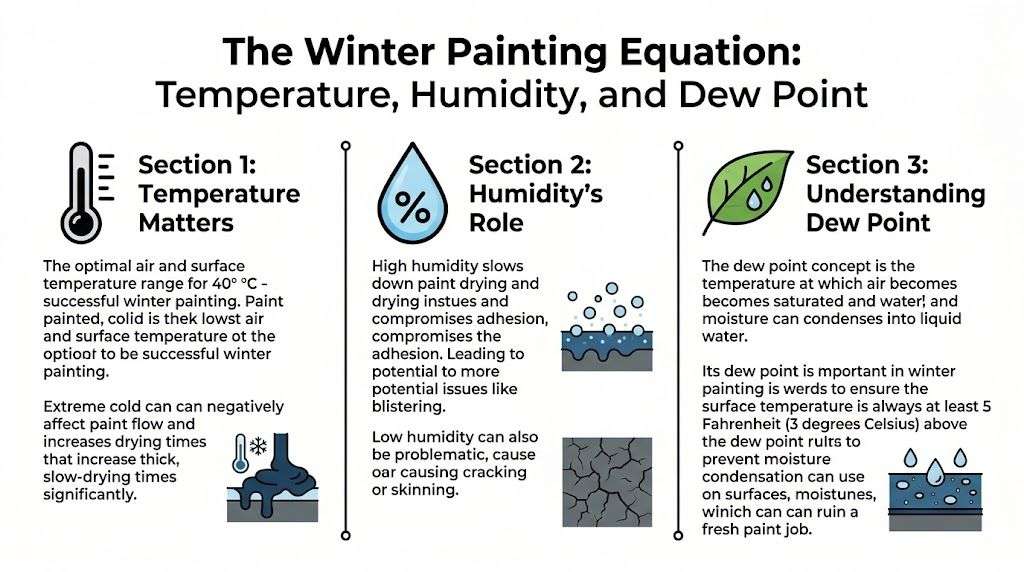
Air temperature and surface temperature are not the same
This is the mistake that causes a lot of winter failures. The weather app says the day is mild, but the siding, fascia, brick, garage door, or bathroom wall on an exterior-facing side of the house is still colder than the room or the air around it.
For proper application, oil-based paints need a surface temperature of at least 45°F (7°C), while latex paints require 50°F (10°C), and in winter a surface can stay colder than the surrounding air, which is why Samplize’s cold-weather painting guidance recommends checking with an infrared thermometer before painting.
That last part matters. Surface temperature is what the paint touches. Not what your phone says. Not what your truck dashboard says. Not what the room “feels like.”
Why humidity changes everything
Humidity controls how quickly moisture leaves the paint and the surface underneath it. In Houston, winter air can be cool and still carry a lot of water. That slows drying and increases the risk that the coating skins over before it cures correctly underneath.
In a bathroom remodel, this gets even touchier. New drywall work, patching around plumbing changes, and weak exhaust all add moisture to the room. If you’ve got a bath that stays steamy after showers, fixing air movement matters just as much as choosing paint, especially in projects where bathroom ventilation improvements should happen before the final finish goes on.
A room can feel dry to you and still be holding enough moisture to delay curing.
Dew point is the number most people ignore
Dew point is the temperature where moisture in the air turns into condensation on the surface. You don’t need to become a meteorologist to use it. You just need to understand what it means on a job.
If the wall, trim, siding, or soffit is close to that condensation point, moisture can form right on the surface. Sometimes you see it. Sometimes you don’t. Either way, paint doesn’t bond well to hidden condensation.
Think of a cold drink sweating on a table in summer. Dew point is the reason that happens. A winter paint surface can do the same thing in a different weather pattern.
What to check before you open the can
Use a simple field routine:
- Read the surface first: Use an infrared thermometer on the actual wall, trim, door, masonry, or siding.
- Check the room or outdoor conditions: Humid air slows everything down, even when temperatures are technically acceptable.
- Look for moisture signs: Foggy mornings, clammy trim, cool metal, or shaded walls are all warnings.
- Time the day, not just the task: A short painting window is better than fighting conditions all afternoon.
A painter who understands painting during winter in Houston doesn’t ask, “Can I get paint on it?” The better question is, “Can this surface stay warm and dry long enough to cure right?”
Choosing the Right Paint and Supplies for Cold Weather
Not every paint that works in spring works well in a Houston winter. If you’re painting during winter, especially on a remodel, product choice matters because the margin for error is smaller.
Low-temperature paints worth asking about
Some modern coatings are built for colder application windows. For 2026, products such as Sherwin-Williams Duration Extreme, which is described as curing at 35°F with faster dry times in high humidity, and Behr Premium Plus Ultra, described for sub-40°F application, are positioned for winter conditions. The same source notes that some acrylic hybrids have shown a 15% reduction in failure rates in coastal zones like the Texas Gulf Coast, according to Behr’s cold-weather paint guidance.
That doesn’t mean every winter job should automatically get the coldest-rated product on the shelf. It means you should match the coating to the conditions and the substrate.
Here’s the practical breakdown:
| Situation | Better choice | Why |
|---|---|---|
| Interior kitchen and bath walls | Quality acrylic latex with mildew-resistant finish | Better everyday washability and easier cleanup during remodel work |
| Exterior trim and siding in marginal weather | Low-temp exterior acrylic formulated for cold application | Gives you more flexibility when daytime conditions are narrow |
| Masonry or mixed exterior surfaces | Acrylic hybrid or manufacturer-approved exterior system | Better fit when moisture exposure and substrate movement are both concerns |
| Flood-affected or previously damp areas | Coating system selected after moisture evaluation | The wrong paint on a not-yet-dry surface still fails, even if the label says low-temp |
Supplies that matter more than the brush
Winter painting failures often get blamed on paint when weak setup is the primary problem. The tools below do more to protect the finish than upgrading from one decent brush to another.
- Infrared thermometer: This is the fastest way to check whether the actual surface is warm enough.
- Moisture meter: Helpful on wood trim, repaired framing, masonry, and any area with a storm or leak history.
- Dehumidifier: Useful on interior remodel work where patching, texture, or daily living adds moisture back into the room.
- Portable heat source: Helps stabilize the work area before and after application. It has to be used safely and with airflow in mind.
- Plastic sheeting and containment materials: Important when you need to isolate a room, protect cabinets, or create a controlled work zone.
Don’t ignore adjacent projects
A lot of Houston remodels combine paint with other work. Exterior trim and siding often sit next to patio covers, porch posts, railings, or enclosures. If your winter work overlaps with outdoor upgrades, it helps to think through those surfaces as part of the same weather strategy, especially on projects that connect to porches and patios.
The right winter paint helps. The right prep and control plan matters more.
Your Step-by-Step Winter Painting Process
A good winter paint job is mostly a discipline problem. The steps aren’t mysterious. The issue is whether you do them in the right order and refuse to skip the boring parts.
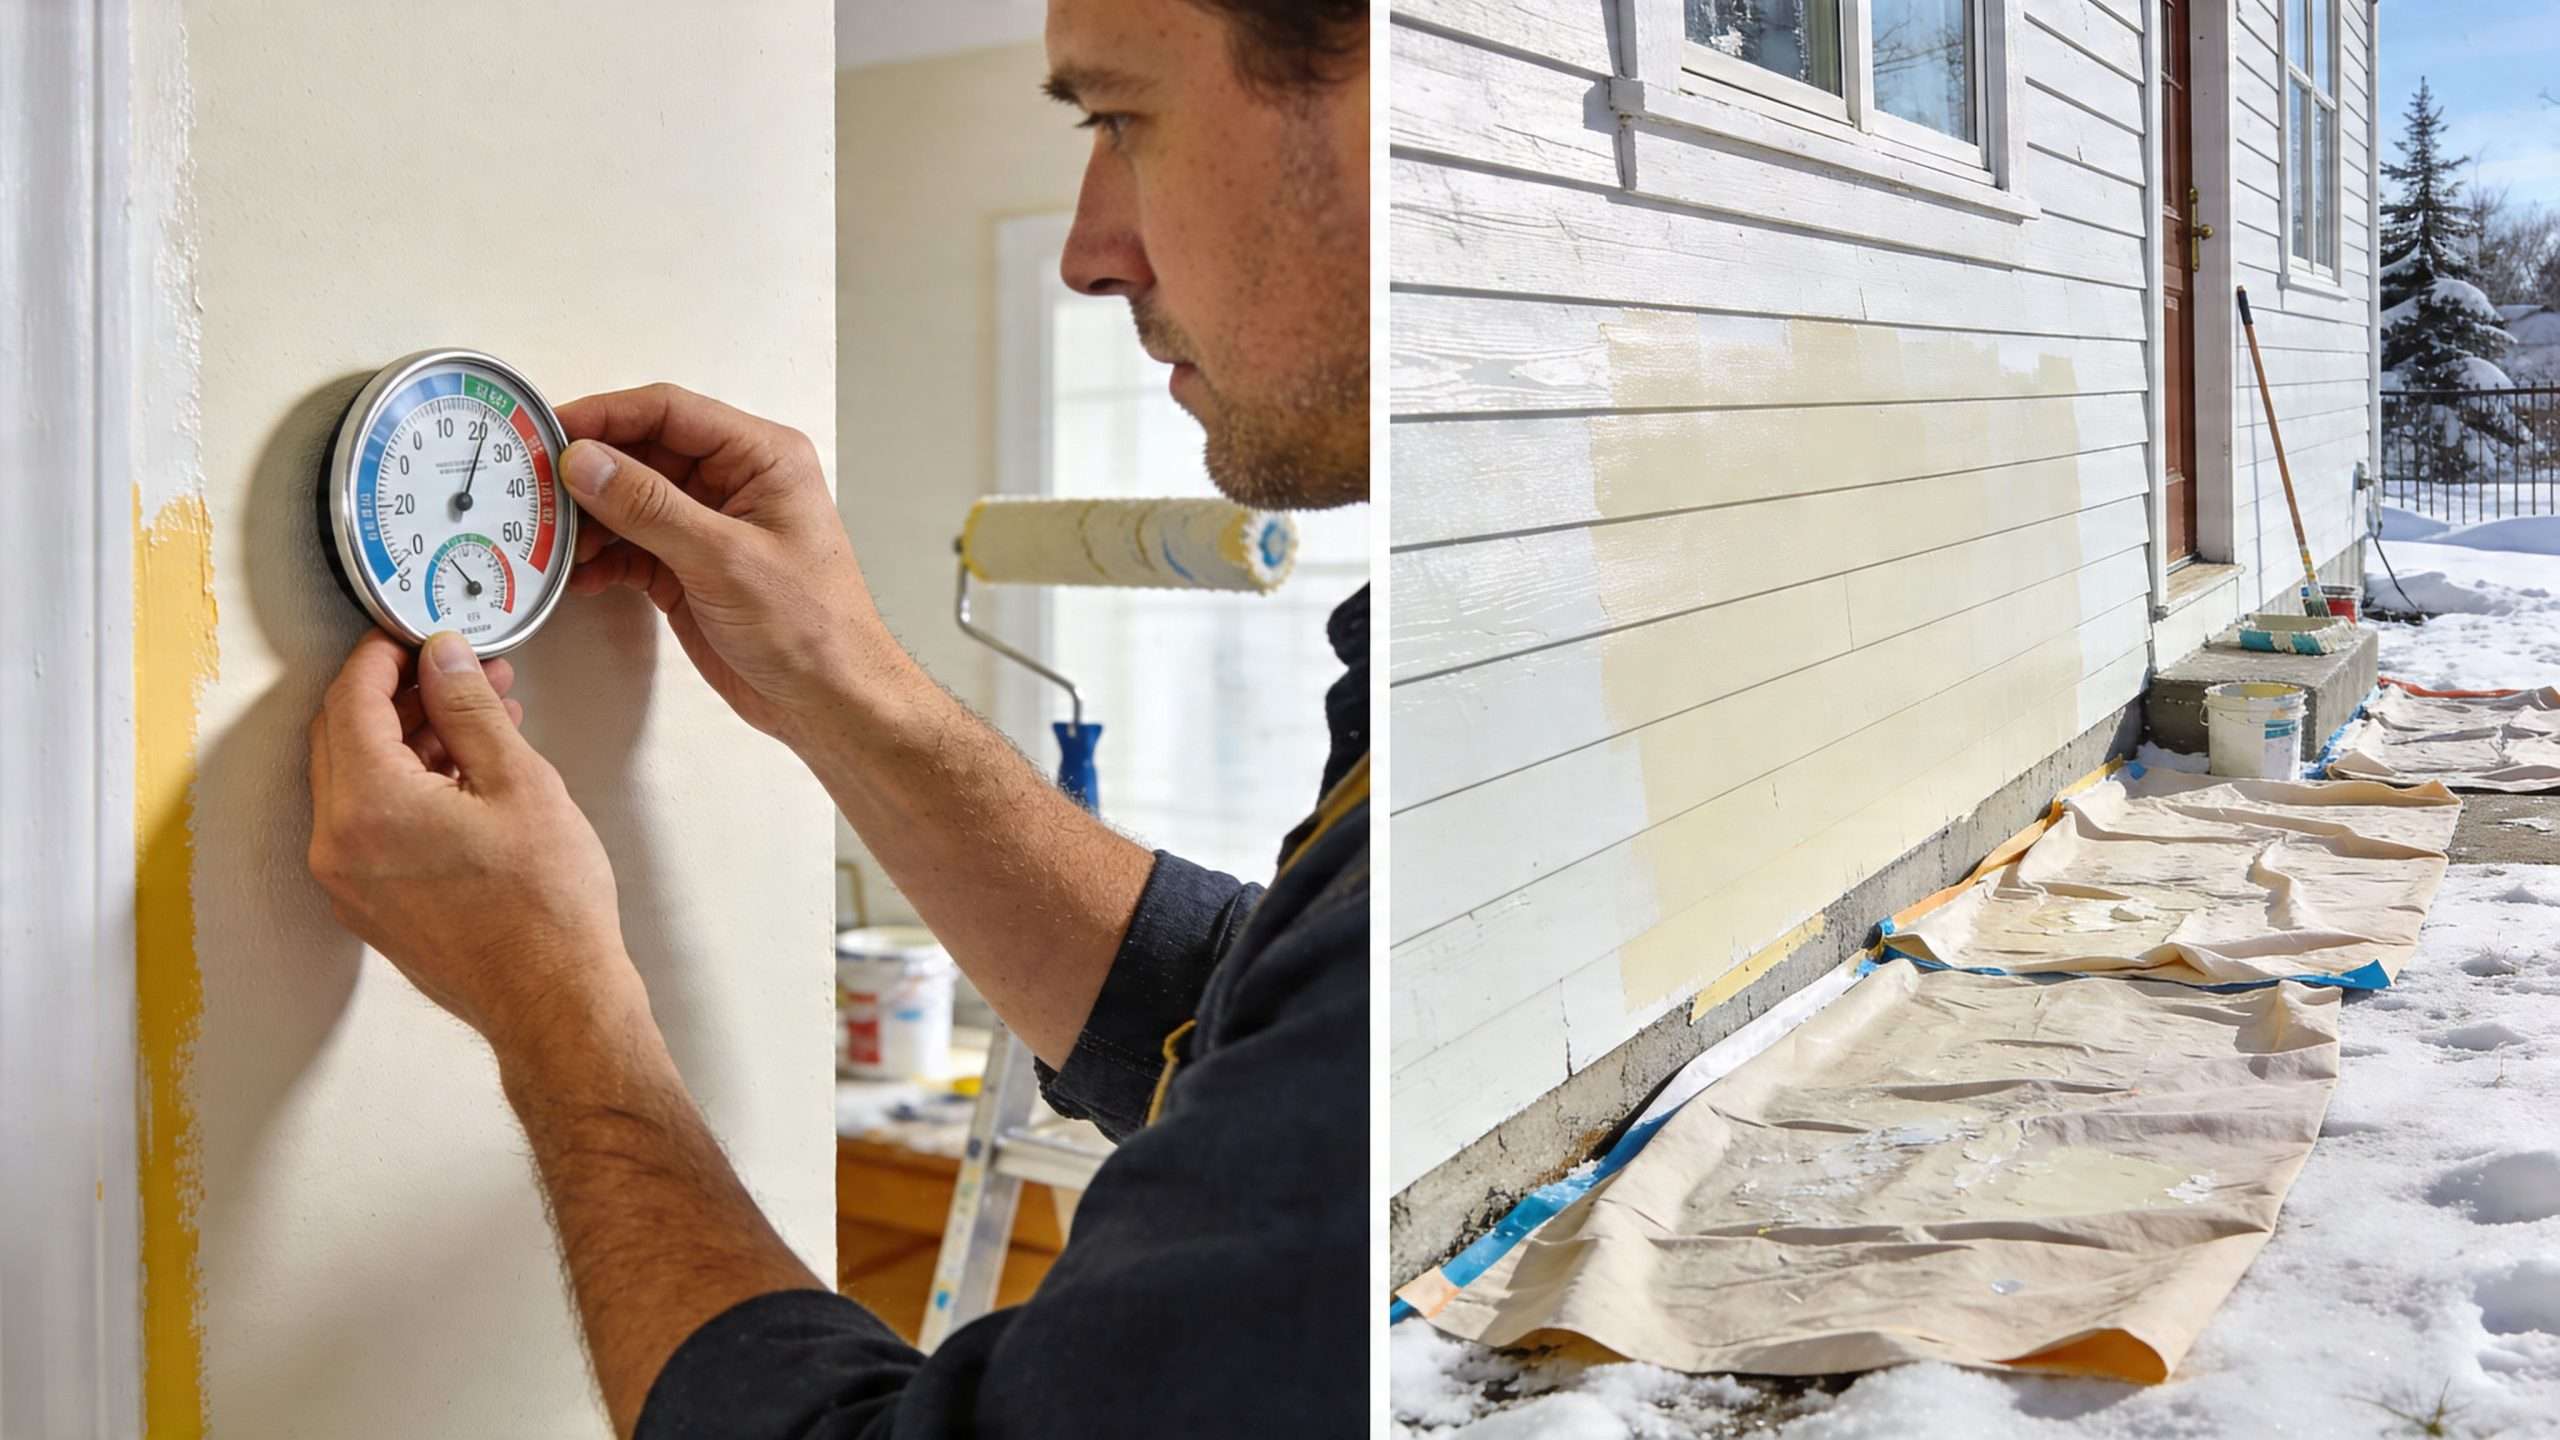
Moisture is the primary cause of cold-weather paint failure, and professional protocol requires verifying the substrate is at least 50°F with an infrared thermometer and confirming the surface is free of frost or condensation before painting, as explained in Accent Painting’s cold-weather prep guide.
Start with the surface, not the paint
If the surface isn’t right, stop there. Winter painting rewards patience and punishes optimism.
Use this prep order:
- Clean the surface fully. Dust, grease, sanding residue, soap film, and jobsite debris all interfere with adhesion.
- Dry it completely. Many jobs fail due to insufficient drying. “Looks dry” isn’t the same as dry.
- Check for hidden dampness. Around windows, outside corners, plumbing walls, and repaired drywall, moisture can linger longer than expected.
- Confirm temperature at the substrate. Scan more than one spot. Shaded areas and dense materials can read differently.
- Prime only when the conditions are stable. Primer doesn’t solve a wet or cold substrate.
Build a controlled window
Winter painting goes best when you create a short, predictable work cycle. For Houston conditions, the best practice from the verified data is to handle prep early, begin painting around 10 a.m., and stop around 2 p.m. so the surface stays warm enough to begin curing before temperatures drop and dew develops later in the day.
That advice fits local reality. Early mornings often carry leftover dampness. Late afternoons can undo a good start.
A practical schedule looks like this:
- Morning: prep, masking, cleaning, sanding touch-up, equipment setup
- Midday: paint application while surfaces are warmest
- Early afternoon: final pass, cleanup, and protection before evening moisture returns
If you’re still applying exterior paint late in the day, you’re often painting into your own failure window.
Interior workflow for kitchens and bathrooms
Interior remodel painting has one big advantage. You can control the room better than you can control the weather.
For kitchens and bathrooms:
- Run climate control steadily: Avoid big temperature swings from turning systems on and off.
- Ventilate intelligently: You want moisture out, but you don’t want to bring in damp outside air at the wrong time.
- Use thinner, even coats: Thick coats stay soft longer and are more likely to mark, wrinkle, or cure unevenly.
- Respect recoat time: In winter conditions, impatience shows up later as texture issues, sheen differences, and weak durability.
Rooms with new cabinets, trim, and tile deserve extra protection. Mask carefully. Keep dust down. Don’t let other trades flood the room with moisture right after painting.
Exterior workflow for Houston winters
Exterior work requires a stricter go-or-no-go mindset.
Use this field checklist:
- Choose the right elevation: South- and west-facing walls may warm earlier than shaded sides.
- Avoid foggy starts: Even if the forecast improves, a damp morning can leave moisture on the substrate.
- Use localized warming when needed: Heat lamps or approved portable heat can help, but only as part of a monitored setup.
- Watch wind exposure: Wind can dry one part of the surface while cooling another.
- Protect the cure: Fresh paint may look dry quickly, but cold-weather curing stays vulnerable much longer.
One more hard truth. If the weather window is wrong, the best move is to postpone. On winter jobs, the money is made in the decision to wait.
Common Winter Painting Mistakes and How to Avoid Them
Most failed winter paint jobs don’t fail because the painter lacked effort. They fail because somebody rushed one condition that didn’t look dangerous at the time.
The wall looked dry, but it wasn’t
This happens on patched drywall, exterior trim, soffits, and masonry after a damp night. You paint it. It lays down fine. A few days or weeks later, you see peeling, bubbling, or edges lifting.
The fix is simple and annoying. Check the surface better. Trust instruments and observation over appearance. Damp substrates don’t negotiate.
The coat went on too heavy
A heavy coat feels productive in cool weather because you want coverage fast. Then the surface stays tacky, wrinkles, or cures with soft spots and sheen variation.
Thin coats win in winter. They dry more evenly and give you a better chance of proper cure before humidity catches up with you.
New paint that still feels sticky the next morning is telling you something went wrong in either conditions, thickness, or both.
The room had poor moisture control
Bathrooms are the classic example. Fresh paint goes on, but the room keeps filling with steam from showers or from other wet trades finishing nearby. That slows cure and can leave streaking, surfactant issues, or a finish that never hardens the way it should.
The answer isn’t just “buy better paint.” It’s controlling the room. Ventilation, sequencing, and drying discipline matter as much as the product.
The day started well and ended badly
Exterior painting during winter often fails in the back half of the day. The wall warmed enough to start. Then shadows moved, temperatures slipped, and evening moisture showed up before the coating had a fair start on curing.
That’s why a shorter workday is smarter than a full one in winter. Stop while the conditions are still on your side.
When to Call H-Towne for Your Remodeling Project
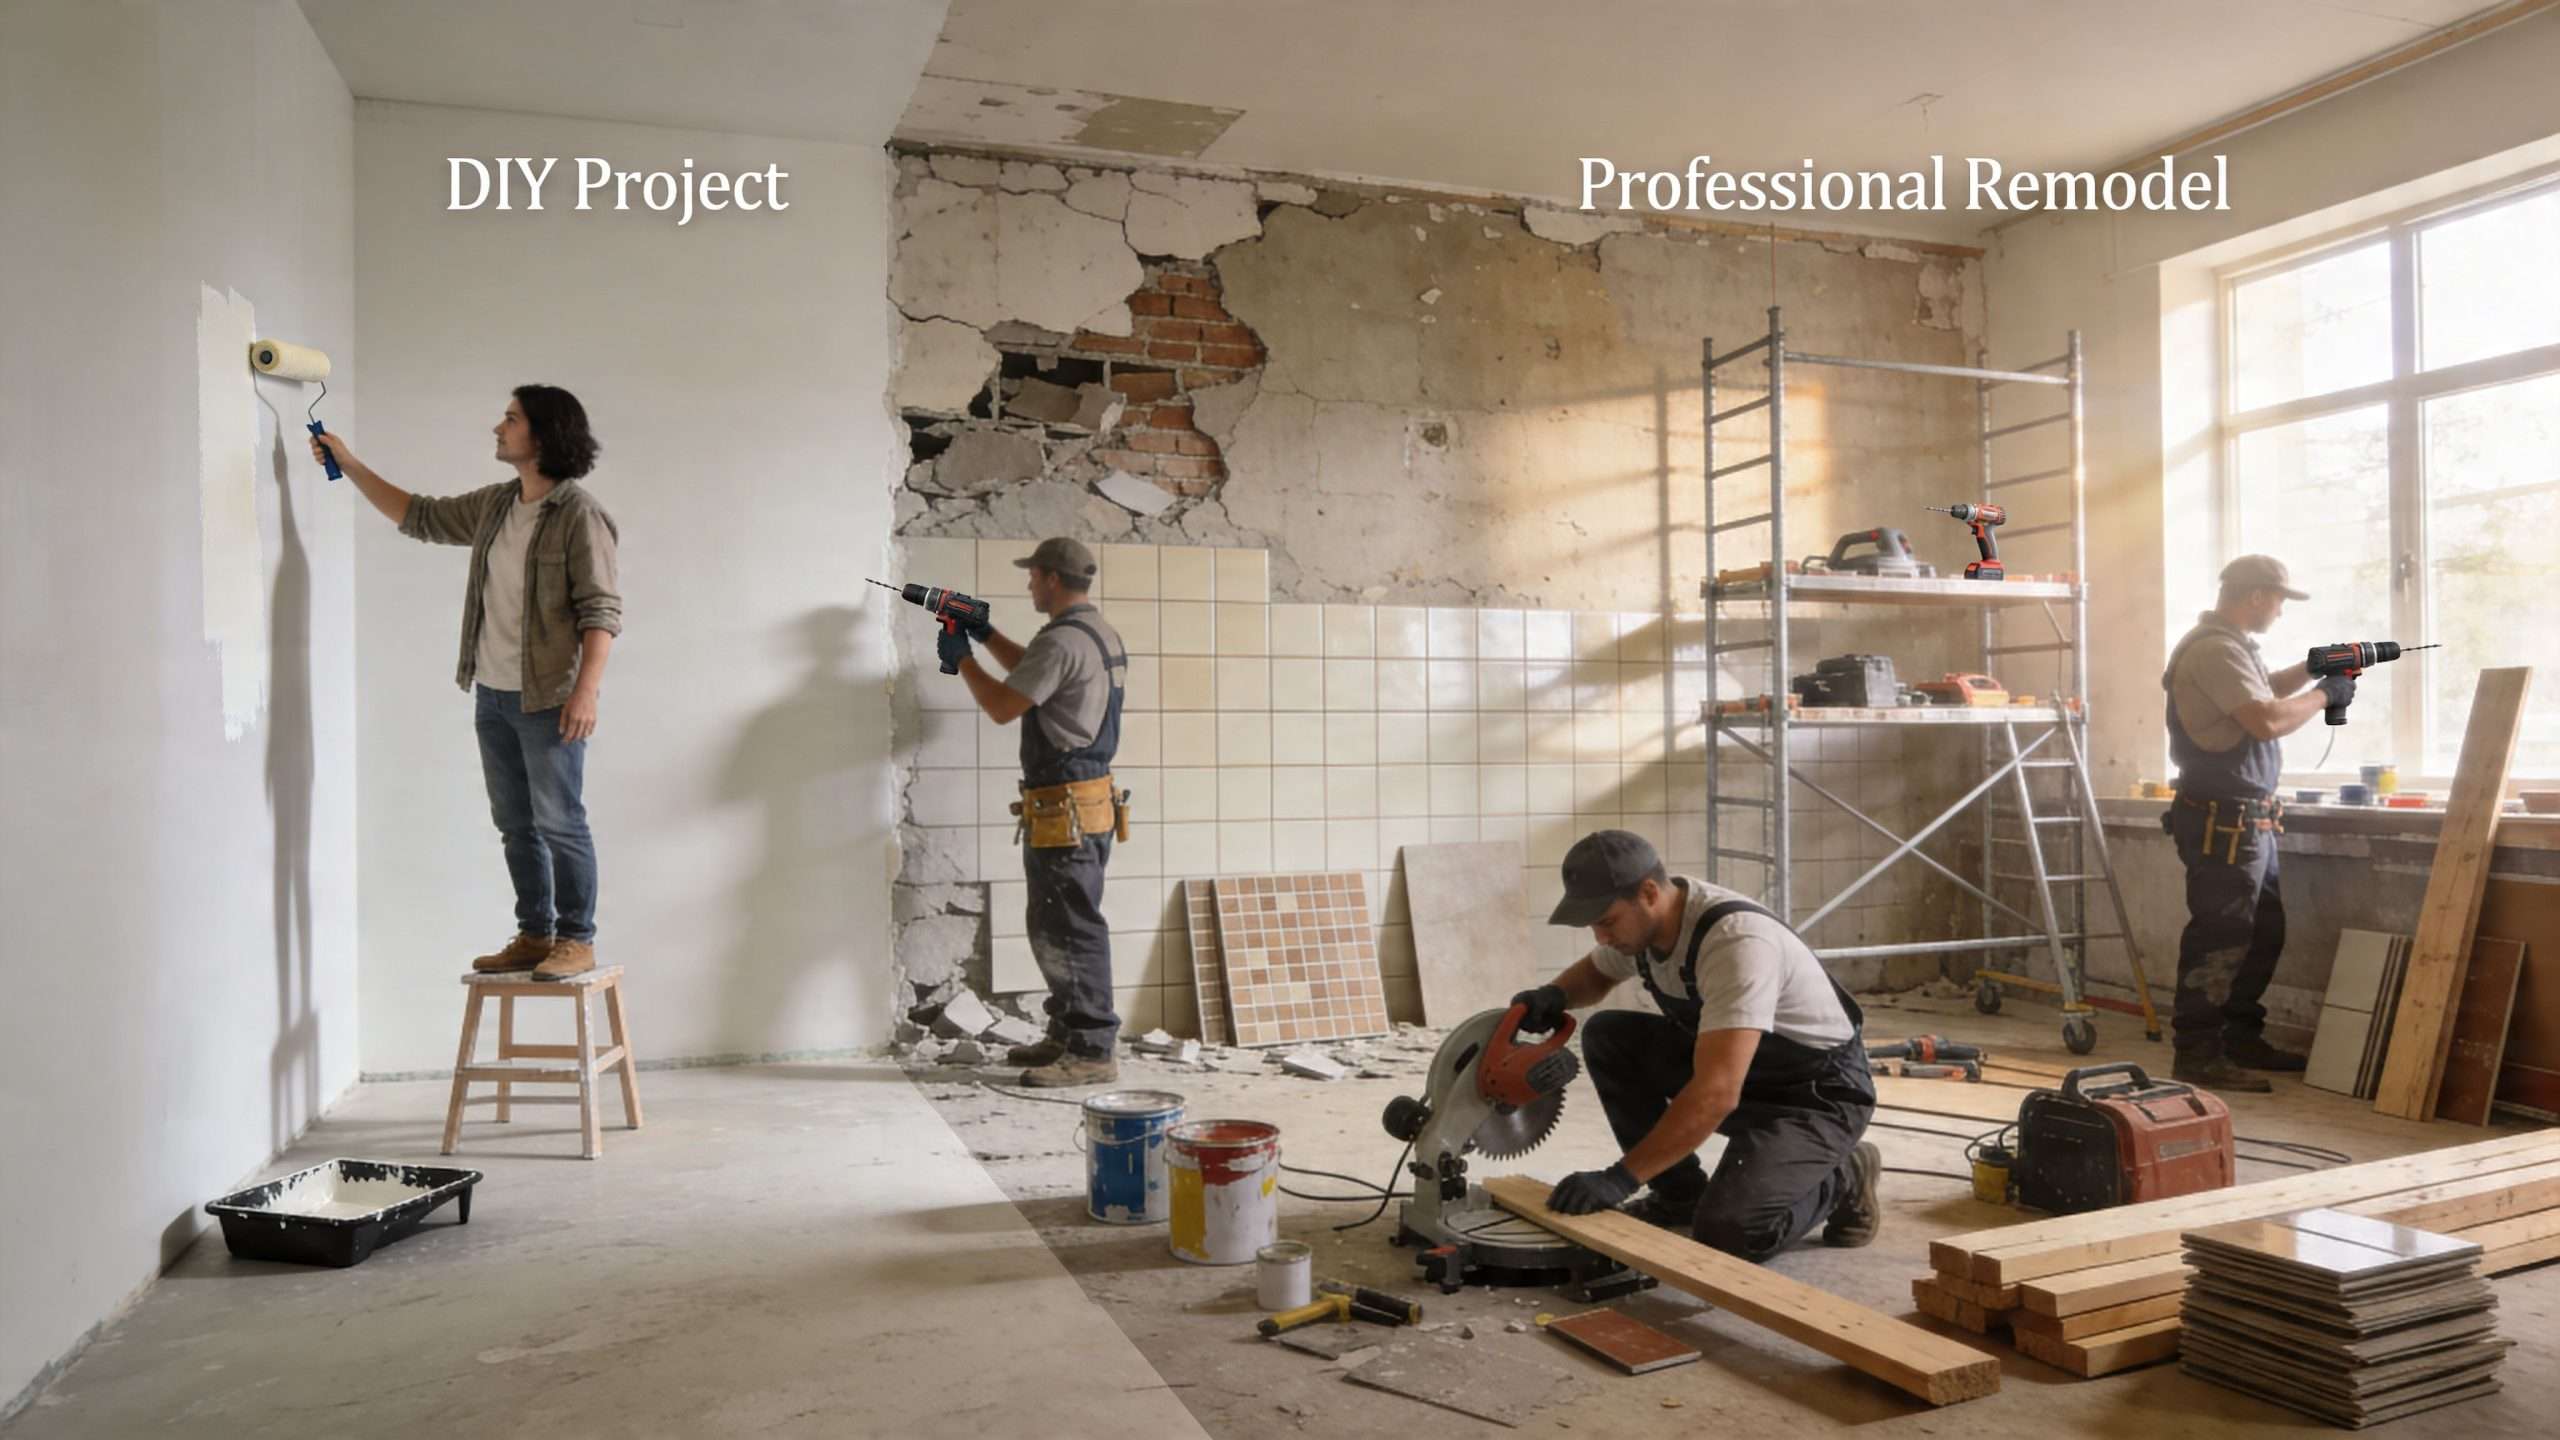
Some winter painting jobs are reasonable for a homeowner. A spare bedroom on a stable weekend can be manageable. A powder room repaint may be fine if the surfaces are sound and the room is dry.
A remodel is different. Kitchens, bathrooms, whole-home renovations, and post-storm repairs have tighter tolerances. Fresh drywall, trim replacement, cabinet installs, tile work, ventilation issues, and schedule pressure all stack risk on top of the painting itself.
Jobs that usually need a pro
These are the projects where winter conditions can get expensive fast:
- Kitchen remodels: Paint has to work around cabinets, trim, appliance timing, and finish surfaces you don’t want damaged.
- Bathroom remodels: Moisture control, ventilation, and cure time matter more than most homeowners expect.
- Whole-home repaints during renovation: Sequencing with other trades becomes the main challenge.
- Storm, flood, or fire recovery: These jobs need moisture evaluation and substrate judgment before anyone talks about finish coats.
- Exterior work with narrow weather windows: Good results depend on timing, tools, and restraint.
Why professional management matters
A skilled remodeling crew doesn’t just show up with rollers. They manage the conditions. They know when to delay a coat, when to isolate a room, when to add heat, and when an exterior surface isn’t ready no matter how badly the schedule wants it to be.
That matters even more on projects tied to broader home remodeling services, where paint is one finish layer in a much larger chain of work. If the paint fails, it doesn’t just mean repainting. It can delay trim-out, final cleaning, photos, move-in, and warranty confidence.
The main value in winter isn’t just getting the color on the wall. It’s getting a finish that cures correctly and stays put.
If you’re planning a kitchen remodel, bathroom renovation, whole-home update, or storm-recovery work this winter, H-Towne & Around Remodelers, Inc. can help you finish the project with the right prep, timing, and climate-aware craftsmanship for Houston conditions. Reach out to discuss your remodel and get a practical plan that fits the season.